Tuesday, 1 July 2014

Wedding Canopy


The Creation of a Wedding Canopy!


My First step was to create the surface design.  The bride and groom met with me and explained that they wanted a very nature oriented theme with favorite colours of greens, blues and purples. I dyed the cotton and then added layers of fabric paint.  this area represented the river that ran through the centre of the design

Eventually I was satisfied with the three main swaths of colour. Blue to represent the sky, deep green with white swirls for the river, and a brighter green in the bottom for the foreground, to represent the land.

I created prints from my drawings and these became thermofax screens.  The bride's favorite flower is the Iris, and her favorite colour is purple so the land in the foreground was covered in printed purple Irises.

A view of the top piece laid out on the dining room table


some views of the printed iris flowers.  The grasses were painted on with a brush.
An image of the deer after quilting as seen from below as it is hung outside.  The shadow was painted into the river.All the quilting was free motion work with various threads.

The groom's middle name is Tzvi which means deer in Hebrew so he requested a deer on the canvas.  This was hand painted on with the fibre paints and dyes.  Of course I felt there needed to be at least 2 deer since we are celebrating the union of a young couple after all!  They are walking towards each other on the edge of the river.


The bride and groom chose the phrase, the font and its size.  I created a thermofax screen for each of these words which are placed amongst the irises in the foreground

Much to my surprise, after the quilt was constructed, I found out from the family, that they wanted the wedding canopy to stand on its own.  I had assumed that they would choose four people to hold the poles but you know what they say about a person who assumes.....
So...it was back to the drawing board, brainstorming, gathering suggestions from near and far, bringing in consultations from florists, and friendly engineers.  The results of all these consultations was that I was totally overwhelmed and confused.
Finally, I decided on buying 4 planting urns, 18 inches high,  used construction bricks teepee style inside the urns to keep the poles in the center of the pots and upright, while we poured cement into the pots about half way up.  The poles were over an inch in diameter from the hardware store.  I had spray painted them white and screwed an eye hook into the top.   This is the test on my driveway to make sure the poles wouldn't snap from the pressure of the quilt on the top.


Installation day....otherwise known as THE WEDDING DAY!  We arrived very early, stepladder in hand, I wanted plenty of time to get it right. 

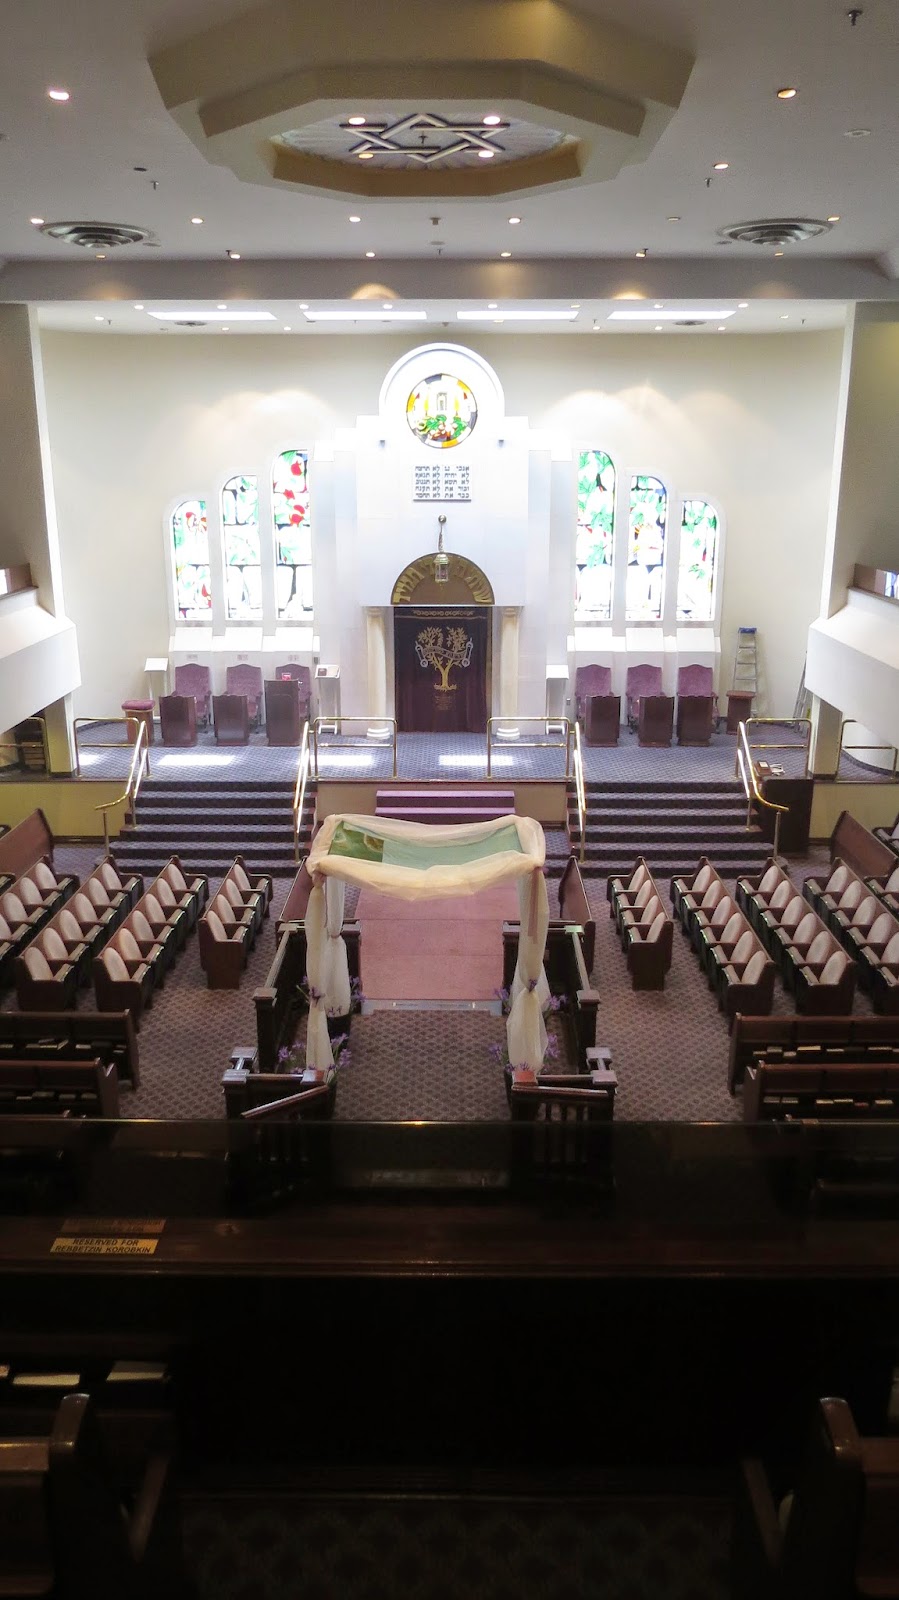
The bride and groom wanted the canopy to be in the center of the sanctuary rather than on the front on the elevated platform.  They wanted to be close to family and friends.  This area was much smaller than the front but we felt confident that it would be enough room.


The first step was to erect the quilt.

But then I felt that without people holding the poles they looked a bit plain so I bought 75 feet of silk organza to drape around the poles and around the perimeter of the canopy

Feeling somewhat relieved that it all came together.


Detail of the finish of the organza in the pots, and I bought Irises to tie in with the prints on the quilt.  Too, the irises are the bride's favorite and I thought that they finished off the pots in a pretty way.

View from the front of the sanctuary.


View from the aisle


Views from the nosebleed sections


Finally !  The Ceremony!  Groom and his mother see the Canopy for the first time and give me the eye.


A beaming mother.


The bride sees the canopy for the first time.

She seems quite taken with it.

Alls well that ends well.  It was a beautiful ceremony and a great party! May they have many many years of health and joy!


Saturday, 7 June 2014

Torah Stitch by Stitch


Torah stitch by stitch is a cross stitch project conceived by Temma Gentles. She suggests that is for those who are interested in engaging with the words and spirit of the Torah with purpose and rigour.  Her goal is to produce the entire text, with the help of volunteer stitchers from around the world.

My portion is an excerpt from Exodus and so I created an illustration that I hoped would appear to reference those who had left Egypt and were now walking through the desert.  

My husband suggests that they are not so much trudging through the hot desert as dancing.  This works for me too.

It was a great pleasure to participate in this project.  I love the largeness of the goal!! To reproduce the entire Torah!! and see it all in stitches, the notion is truly awesome.  I did find that reproducing the letters exactly was very rigourous, but in a positive way.  And then having the space to create my own illustration was so creatively challenging.  I haven't worked in counted cross stitch since I was a child and learnt how to do it from my grandmother.  This brought back those memories in a very lovely way.

Tuesday, 6 May 2014

re-purposing high school uniforms

 My niece and nephew (twins) recently graduated from high school.  They have been excellent students and to honour this milestone, I decided to up-cycle the remnants of their high school uniforms.

 Michelle, my niece, is playing with her new acquisition.
 The points in different directions represent their futures.  We don't know where their paths may lead them, but we know that they will pursue their goals with continued integrity and passion.

Free motion quilting details


back of the quilt.

Monday, 18 November 2013

tobias

Tobias, the Girafonte

Family fables are wonderful.  And so it was that a grandfather created stories about Tobias, an animal who was half Hippo and half Giraffe. Against all odds, Tobias's parents fell in love although they were a mixed union, one being a hippo and one being a giraffe.  Tobias was a sweet boy but usually found himself having difficulty fitting in. The others in Hippo school didn't quite know what to make of him, and neither did the children in Giraffe school.  Yet, he usually found his way into their hearts with his sweet and giving nature.  This little quilt is an illustration of the time he saved young Ify from drowning in the river Nile and falling prey to a crocodile.  The other giraffes from the school house windows watch in amazement as Tobias saves the day.
Janos Fenjves, Tobias's creator, was a great story teller, and delighted children for many years with his stories about an oddball who didn't quite fit in anywhere, but worked hard to enrich the lives of those around him. An autiobiographical theme as Janos was one of the many who survived the war only to find himself trying to build a life in a strange land.  Janos passed away one year ago, and his loss is still greatly felt.  We hope that illustrating his Tobias stories will help him remain in our memories and create new opportunities for great stories of outsiders fitting in, for many generations to follow.  


DetailThis quilt was created using both hand dyed and commercial fabrics, appliqued, with satin stitch, free motion.

The worried giraffes watch Tobias come to the rescue

Ify clings to Tobias


Wednesday, 2 October 2013

Dyed Trees

Trees

This piece measures 64 inches wide and 26 inches in height.
The size was determined by the space in the client's home, she specifically wanted a 'painting' to hang over her bed.  All she asked for was trees, and left the rest up to me.

Detail:  I worked in layers with procion MX dyes.  The layers were painted on with brushes. I created the resists with masking tape (for the trunks and the clouds).

After the dyes were set and dried, I added details with free motion machine stitching. I deliberately did not add batting and quilt since this was intended to be a painting.  I added stabiliser to the back to support the stitching.


Since this piece was so wide, it was a challenge to photograph well in its entirety, so I took another photo that is cropped.


my friend enjoying tranquility
This work was inspired by the views of the from my beloved cottage in the woods. This is a photo of my niece exploring.


Tuesday, 3 September 2013

Fibonacci Curve

 Fibonacci Curve

I created this piece inspired by the discovery that Fibonacci made; that most creations of nature have this curve intrinsic to their construction.  The multiples are created by adding the length of the last 2 dimensions together for the next.  An obvious reference is a spiral of a sea shell, but if you look closely, you can find evidence of this design very frequently in the natural world. 

Once I created the blocks the notion of a bird on top of a head came to me  (the mind is a wondrous thing!) and thus "BirdBrain" was birthed.  This quilt is 39" wide by 24 " tall.
Detail of the hand which was sketched with free motion stitchery from one piece of cloth.  The illusion of depth in the palm was created with ink.

detail of face created with hand embroidery as well as free motion stitchery. the face  (as well as the entire curve is embellished with beads.

detail of the brain created with hand embroidery and embellished with sparkly beads, because; despite feeling like a bird brain most of the time,  my brain is always firing with new ideas!

detail of the bird's feathers created with hand embroidery. 


This quilt was shown in The Festival of Quilts 2013 in Birmingham, England.  

The Judges comments were:

"Lovely use of beads and the decorative stitching adds interest and dimension.  Well constructed-well done!"

and

"Beautiful embroidery skillfully worked, and a fun and thought provoking theme."